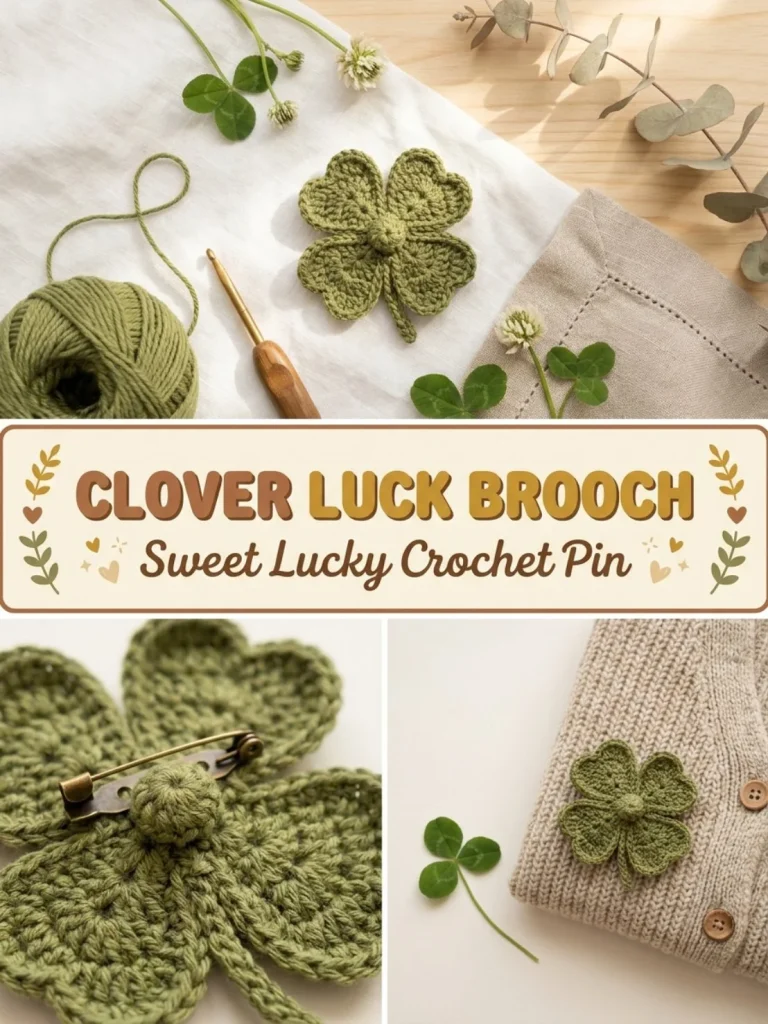
Crocheting a Clover Luck Brooch Pin is a delightful way to create a unique decorative piece that’s both charming and practical. This little accessory can brighten up any outfit and makes a lovely gift for friends or family, especially for special occasions like St. Patrick’s Day. The design involves simple crochet techniques that even beginners can master. A helpful tip is to keep your tension even throughout the leaves to achieve a neat, flat appearance. You may also find Tiny Heart Brooch Pin useful.
Why You’ll Love This Crochet Pattern
- Easy to Follow: The pattern includes straightforward instructions suitable for crocheters of all skill levels.
- Quick Project: This brooch pin works up quickly, making it perfect for last-minute gifts.
- Versatile Design: The finished brooch can be worn on a jacket, hat, or bag, adding personality to any accessory.
- Customization Options: You can easily modify colors or add embellishments to personalize your piece.
Finished Size
The estimated finished size of the Clover Luck Brooch Pin is about 3 inches in diameter. Keep in mind that size may vary depending on your yarn, hook, and personal tension.
Skill Level
This project is classified as beginner to easy. The techniques involved are basic, making it an excellent choice for those who are new to crocheting.
Materials Needed
- Worsted-weight moss-green cotton yarn
- 3.5mm crochet hook
- 1 small gold pin-back finding
- Tapestry needle
- Small amount of stuffing (optional)
- Scissors
Stitches and Abbreviations
- sc: single crochet
- hdc: half double crochet
- st: stitch
- tog: together
Gauge and Tension Notes
For this project, gauge isn’t critical, but aiming for consistent tension will help maintain a uniform appearance in your leaves.
Pattern Notes Before You Start
The brooch is constructed by crocheting four separate leaves that are then assembled in a clover formation. Each leaf is crocheted in rounds and does not require any stuffing, maintaining a flat shape.
Step-by-Step Crochet Instructions
-
Leaf (make 4):
- Start with a magic ring, ch1, and make 6 sc into the ring (6).
- Round 2: 2 sc in each st around (12).
- Round 3: sc1, 2sc in next st around (18).
- Round 4: sc evenly across (18).
- Round 5 (heart notch): sc 8, hdc2tog, sc 8 — this creates the small dip at the top of the leaf. Fasten off, leaving a long tail. Repeat for all 4 leaves.
-
Assembly:
- Arrange the 4 leaves in a clover formation with the points facing outward and notches towards the center.
- Using the leftover yarn tails, stitch all 4 leaves together at their center points.
- Ensure they meet at a single central point to resemble a four-leaf clover.
-
Finishing:
- Sew the pin-back finding flat to the reverse side, ensuring it is centered – this will allow the brooch to sit level.
Assembly and Finishing
When assembling your Clover Luck Brooch Pin, make sure to position the leaves neatly and use tight stitches to hold them firmly. Weaving in all the ends will help give your brooch a polished finish.
Helpful Tips
- Join Tightly: Make sure your stitches when joining the leaves are firm to maintain the shape.
- Even Tension: To keep the finished pieces neat, maintain consistent tension throughout your work.
- Personalize: Add small embellishments or beads to your brooch for a flair that matches your style.
- Choosing Yarn: If you’re looking for a change, consider trying different yarn textures for a unique look.
Common Mistakes to Avoid
- Uneven Stitches: Ensure that your tension is consistent to prevent uneven sizing.
- Not Using the Magic Ring Correctly: If new to crochet, practice the magic ring technique to avoid gaps.
- Overstuffing (if used): If you opt for filling, use only a small amount to keep the leaves flat.
Customization Ideas
- Explore different yarn colors such as light or dark greens for a varied look.
- Add beads or decorative buttons in the center for a touch of whimsy.
- Experiment with different yarn weights to alter the finished size of the brooch.
- Consider using metallic or shimmery yarns for a festive version.
How to Use or Display This Crochet Project
Once finished, this Clover Luck Brooch Pin can be worn on your jacket, hat, or scarf, adding a personal touch to your wardrobe. It also makes a lovely gift, especially when presented in a cute little box or bag.
Care Instructions
To clean your brooch, gently hand wash it in cold water with mild detergent. Lay flat to dry and avoid wringing or twisting the piece. Store in a cool, dry place to maintain its shape.
Frequently Asked Questions
-
Can I make this brooch with different yarn types?
- Yes, but ensure the yarn weight is similar for the right structure.
-
What if I can’t get the magic ring to work?
- You can start with a traditional chain method if you find the magic ring challenging.
-
How can I make my stitches tighter?
- Pay attention to your grip on the yarn and hook; it may take practice to find the perfect tension.
-
Can I display this brooch in a different way?
- Absolutely! You could attach it to a bag strap or use it as a decoration on a crochet project.
Finishing this Clover Luck Brooch Pin will leave you with a charming accessory that can showcase your crochet skills. For a different style, consider trying out the Alpine Moss One Row Repeat Throw for your next project! Happy crocheting!



