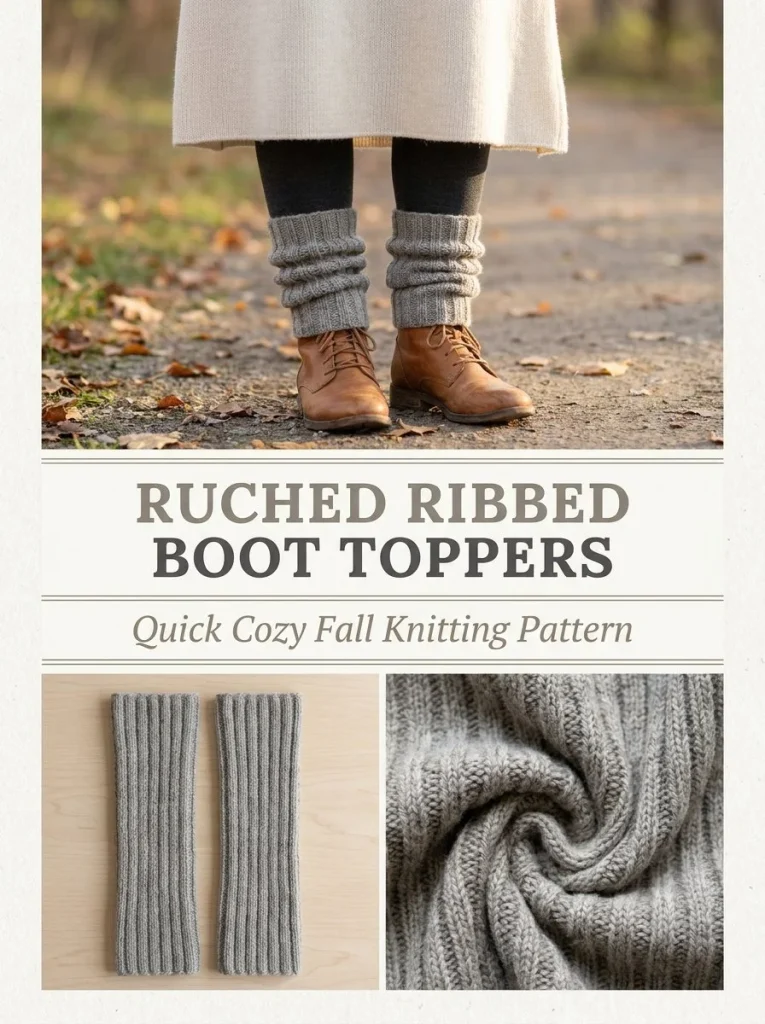
The Ruched Ribbed Boot Toppers make for a cozy and stylish addition to any fall or winter wardrobe. This project is not only functional, but also a fantastic way to improve your knitting skills. These boot toppers can be worn scrunched over ankle boots or leggings, making them a versatile accessory. Plus, if you’re looking for more creative knitting patterns, be sure to check out this pumpkin spice ribbed neck scarf knitting pattern for complementary pieces!
Skill Level
Intermediate. This pattern requires a basic understanding of knitting in the round, ribbing techniques, and binding off.
Materials
- 360–440 yd / 330–400 m DK #3 wool-blend yarn
- US 5 / 3.75 mm DPNs (double-pointed needles) or long circular needle
- Stitch marker
- Tapestry needle
- Scissors
Abbreviations — US Terms
- k – knit
- p – purl
- st(s) – stitch(es)
Gauge
While a specific gauge is not essential for this project, maintaining consistent tension is important to ensure a proper fit.
Finished Size
The completed boot toppers will measure approximately 16 inches (41 cm) in height.
Pattern Notes
- This project is worked in rounds.
- Use stitch markers to keep track of the beginning of the round.
- The pattern features a ribbing technique, which allows for flexibility and stretch.
Crochet Instructions
Round 1
- Cast on 64 sts.
- Join in the round, being careful not to twist the stitches. Place a stitch marker at the beginning of the round.
Rounds 2-15
- Work in K2, P2 rib continuously until the tube measures 16 inches (41 cm).
- To maintain the ribbing’s stretch, ensure that the tension remains even throughout.
Rounds 16-21 (Neater Lower Edge)
- For a slightly neater lower edge, switch to K1, P1 rib for the final 6 rounds.
Bind Off
- Bind off using a very stretchy bind-off method, suitable for ribbed fabrics.
Finishing
- Weave in any loose ends using your tapestry needle.
- Block lightly to shape your project, allowing the ribbing to retain its natural spring. Avoid stretching it to full length during the drying process.
How to Wear
- To wear your boot toppers, pull the tube over your lower leg and let them scrunch naturally above ankle boots or over leggings. Because there’s no heel or toe, either end can be worn at the top, giving you versatile styling options.
For those interested in cozy projects that utilize similar techniques, consider trying out these two-needle cozy baby socks knitting pattern. It’s a delightful way to expand your knitting repertoire while creating gifts for loved ones.
Tips for the Best Result
- When joining in the round, ensure that the cast-on row is not twisted to avoid misalignments.
- Use a stitch marker to easily identify the beginning of your rounds.
- When switching ribbing patterns, maintain consistent tension across all stitches for an even look.
Common Mistakes
Loose Bind-Off
If you find that your bind-off edge is too tight, practice using a more relaxed bind-off technique to maintain elasticity.
Uneven Stitches
Ensure you are pulling your yarn at a consistent tension while knitting to avoid having some rounds appear tighter or looser than others.
By following these detailed instructions and tips, you’ll create beautiful, functional boot toppers that not only enhance your wardrobe but also serve as a great project for practicing your knitting skills. Happy knitting!



