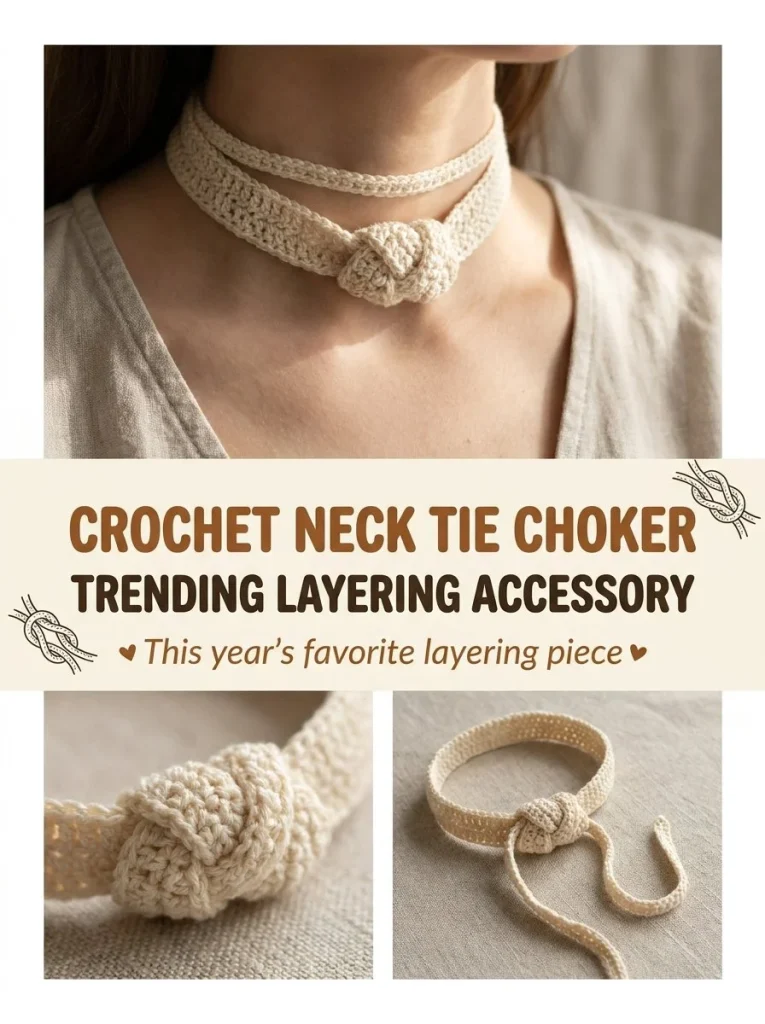
Creating a crochet neck tie ribbon choker is a fabulous way to make a statement with a simple yet elegant accessory. This trendy layering piece is not only an eye-catching addition to your wardrobe but also beginner-friendly, making it a perfect project for those venturing into the world of crochet. With its delicate design and cozy feel, you can personalize this choker to suit your style or make it a thoughtful gift for friends and family. As you work on this project, ensure your tension is even to keep the finished piece neat and visually pleasing.
Why You’ll Love This Crochet Pattern
- A charming accessory that complements various outfits.
- Perfect for layering with other necklaces or chokers.
- An easy project, ideal for beginner and intermediate crocheters.
- You can customize it in different colors or lengths to match your mood.
- A quick make, making it an ideal last-minute gift option.
Finished Size
The finished size of the choker will typically be about 20-24 inches in total length, allowing for a comfortable fit around the neck. However, size may vary depending on your yarn choice, hook size, and tension.
Skill Level
This pattern is categorized as beginner, as it utilizes basic crochet techniques such as chaining and single crochet. If you’re familiar with these stitches, you’ll find the instructions straightforward and rewarding.
Materials Needed
- Fine cream cotton thread
- 1.75mm hook
- Tapestry needle
- Scissors
Stitches and Abbreviations
- ch: chain
- sc: single crochet
Gauge and Tension Notes
For this project, gauge is not critical. Focus on keeping an even tension to ensure a neat and polished look for your final piece.
Pattern Notes Before You Start
The neck tie ribbon choker is constructed in rows. Start with a long chain that fits around your neck with additional length for the front tie. Remember to leave a bit of extra yarn for the decorative knot detail later on.
Step-by-Step Crochet Instructions
- Chain a cord that fits comfortably around your neck plus 20 inches for the front tie.
- Starting in the second chain from the hook, single crochet across.
- Fasten off, leaving tails at both ends to secure the choker.
- For the knot detail, take a short length of the same cord, fold it in half, and tie an overhand knot, ensuring small loops are at the ends.
- Sew this knot piece to the center front of the main cord, allowing the small loops to sit decoratively beside the knot.
- Weave in all ends for a tidy finish.
- Tie the choker at the back of your neck to wear it comfortably.
Assembly and Finishing
To finish your choker neatly, make sure all yarn ends are woven in and the knot is securely attached at the center. This will help maintain the shape and ensure longevity.
Helpful Tips
- Use a stitch marker to keep track of your beginning and end of rows.
- If tension is uneven, consider using a larger hook, as this may help with flow.
- For a more elaborate look, consider adding beads to the ends of the ties.
- Experiment with different yarn textures to create unique pieces.
Common Mistakes to Avoid
- Not leaving enough yarn for the ties can lead to a short length that’s difficult to work with; always overestimate.
- Forgetting to weave in ends may result in fraying.
- Skipping the knot detail can affect the final aesthetic.
Customization Ideas
- Change the yarn color to match your wardrobe.
- Add embellishments like beads or charms for a more personalized touch.
- Experiment with different lengths to create unique styles.
- Combine different cotton thread colors for a gradient effect.
How to Use or Display This Crochet Project
The finished choker can be worn as a casual accessory or dressed up for special occasions. It can also be a thoughtful handmade gift, perfectly suited for birthdays or holidays.
Care Instructions
To keep your choker in excellent shape, hand wash it gently in cold water and lay it flat to dry. This will help maintain its structure and color.
Frequently Asked Questions
Q: Can I adjust the size of the choker?
A: Yes, simply chain a longer length to fit your desired size while following the same instructions.
Q: What if I want to make it wider?
A: If you prefer a wider look, you can work additional sc rows.
Q: Can I use a different yarn type?
A: Absolutely! However, ensure you use a yarn that won’t cause irritation against the skin.
Q: What are some gift ideas that pair well with this choker?
A: Consider making a matching bracelet or embroidery bookmark like the poetcore ribbon bookmark tassel crochet pattern for a thoughtful set.
Final Thoughts
Creating your crochet neck tie ribbon choker is an enjoyable project that combines artistry with practicality. Remember to take your time and have fun experimenting with styles. Happy crocheting!
Feel free to explore other patterns like the mini granny square bag charm crochet accessory pattern for more crochet inspiration!



