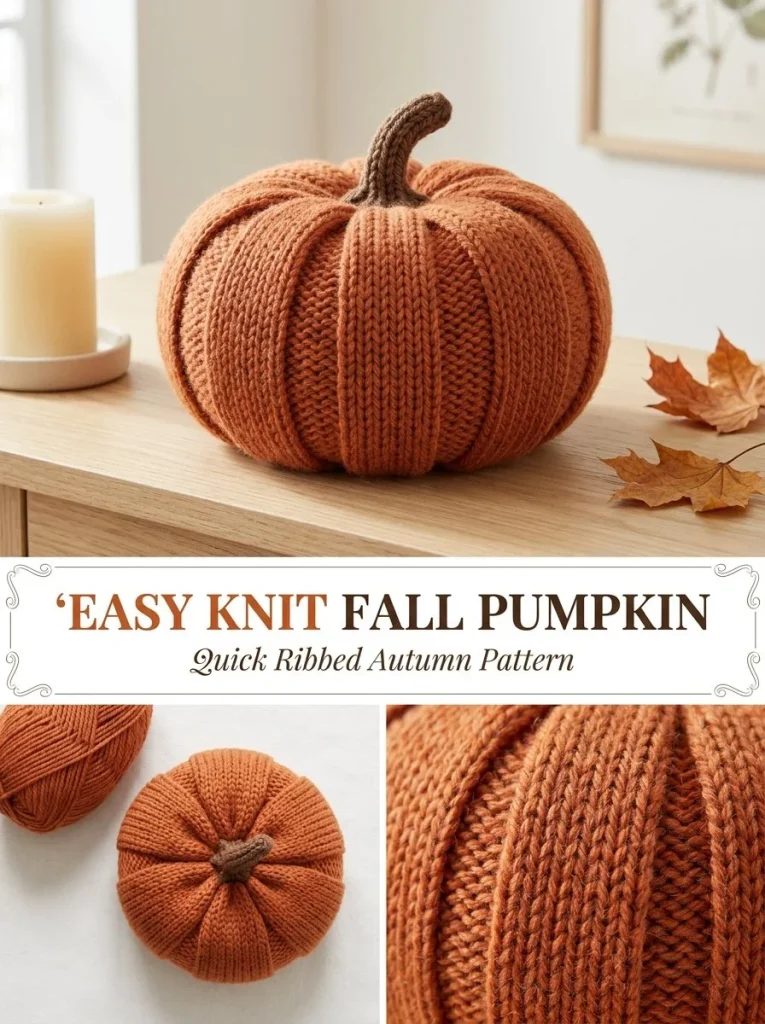
Starting your fall crafting with an adorable pumpkin pattern can be a delightful experience. This Easy Ribbed Knit Fall Pumpkin pattern is perfect for your seasonal decor and makes a great project for both beginners and confident beginners. You can even explore variations and make a whole pumpkin patch! If you are intrigued by pumpkin projects, you may also want to check out this mini pumpkin ornament set that complements any autumn theme.
Skill Level
Confident Beginner: This pattern is written to guide those who have basic knitting skills, including knowledge of working in the round and using common stitches like knit and purl. It is straightforward enough for those seeking a simple yet gratifying project.
Materials
- Approx. 55 yd worsted or light-bulky wool-blend yarn in burnt orange
- Small amount of brown yarn for the stem
- US 8 (5 mm) 16-inch circular needle or double-pointed needles (DPNs)
- Polyester fiberfill for stuffing
- Tapestry needle for weaving in ends
- Scissors for cutting yarn
- Stitch marker to keep track of rounds
Abbreviations — US Terms
- k – knit
- p – purl
- st(s) – stitch(es)
Special Stitches
This pattern only requires basic stitches, so there are no special techniques to define. Just familiarize yourself with knit and purl stitches!
Gauge
Gauge is not critical for this project; however, maintaining consistent tension will help achieve a uniform look.
Finished Size
The finished pumpkin measures approximately 5.5 inches (14 cm) in diameter and 2.5 to 3 inches (6 to 7.5 cm) tall, making it an ideal size for table decor.
Pattern Notes
- This pattern is worked in the round.
- Join with a slip stitch to close the round, without twisting the stitches.
- Keep the stitch marker handy to mark the beginning of the rounds.
- The shaping will create sections in the pumpkin, making it resemble a traditional pumpkin.
Crochet Instructions
Part 1 – Body of the Pumpkin
Round 1
- Leave a 24-inch (60 cm) tail and cast on 66 stitches.
- Join to work in the round without twisting. Place a stitch marker to indicate the start of the round.
Round 2
- For every round, work as follows:
*Knit 10, purl 1. Repeat from * until the end of the round. - You should have a total of 66 stitches at the end of each round.
Rounds 3-10
- Continue repeating Round 2 until the tube measures about 6.5 inches (16.5 cm) from the beginning.
Round 11
- Bind off in pattern, ensuring you keep the knit and purl stitches intact. Leave a long tail when binding off.
Part 2 – Shaping the Pumpkin
- Gather the cast-on tail: Thread it onto a tapestry needle and run it through the edge stitches around the opening. Pull firmly to close and secure.
- Stuff the pumpkin: Using polyester fiberfill, stuff the pumpkin evenly and firmly to give it structure.
- Close the bind-off edge: Gather the bind-off edge similarly to the cast-on edge, tightening it well.
- Shape the center: Pass a long tail through the middle of the pumpkin from top to bottom and pull gently until the centers indent slightly.
- Create sections: For six defined pumpkin sections, carry the shaping yarn along each purl gutter. Pass through the center and snug gently. Repeat this around the pumpkin, ensuring not to over-tighten.
Part 3 – Creating the Stem
- Using brown yarn, cast on 4 stitches using the I-cord method.
- Work approximately 1.5 inches (4 cm) of I-cord.
- Bind off and sew the stem securely into the top center of the pumpkin.
Finishing Touches
- Weave in all ends using the tapestry needle.
- Redistribute the stuffing as needed until the pumpkin looks symmetrical and well-rounded.
For further refining your fall decor projects, consider exploring other knitting patterns such as this easy flat-knit pumpkin trio pattern.
Care
Since the yarn is wool-blend, proper care is crucial. Be sure to refer to the yarn label for specific washing instructions. Generally, hand washing in cool water and laying flat to dry will help maintain the shape and integrity of your pumpkin.
With this comprehensive guide, you can create delightful ribbed pumpkins for your fall display. Enjoy your knitting adventures!



