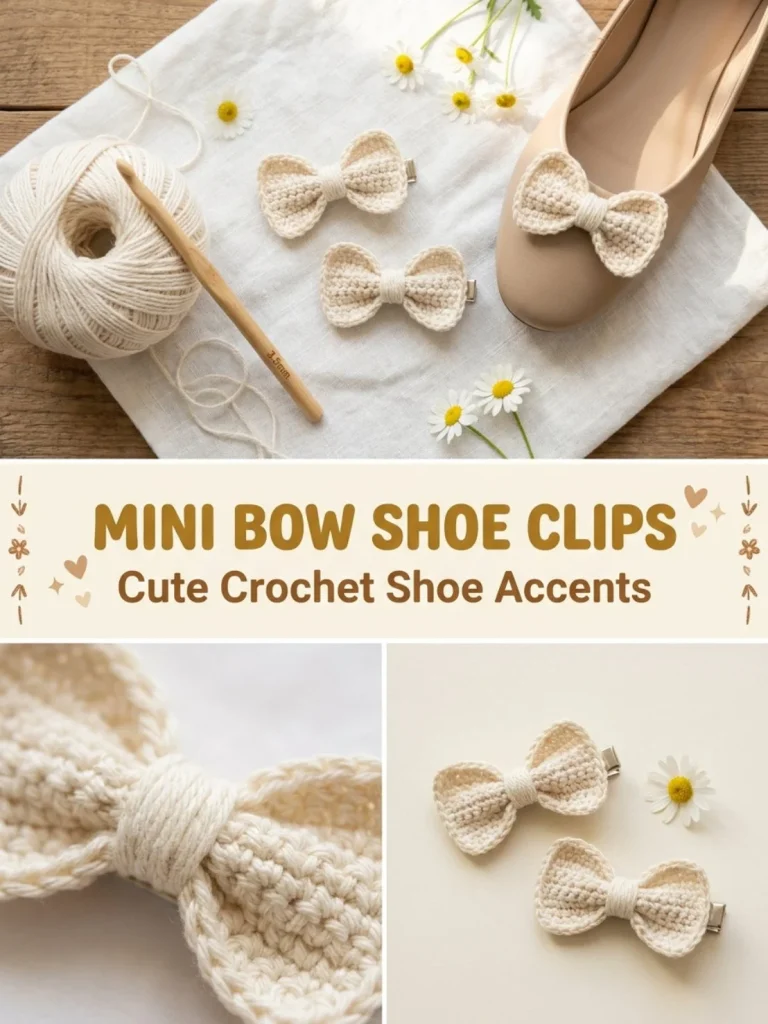
Crocheting a Mini Bow Shoe Clip Pair is a delightful project that adds a charming touch to any footwear. These cute bow clips are not only functional but also serve as a stylish accessory that can easily elevate a simple pair of shoes. This project is beginner-friendly, making it perfect for those just beginning their crochet journey. Crafting these clips can also help you practice your single crochet stitches while creating something practical and fun. Plus, the finished bows pair beautifully with a variety of shoe styles, ensuring they’ll be a staple in your accessory collection.
Why You’ll Love This Crochet Pattern
- Easy to follow, making it perfect for beginners and those with some crochet experience.
- A lovely way to customize and refresh old shoes or as a thoughtful gift for a loved one.
- Requires minimal materials, making it an economical project that can lead to several unique pairs.
- The straightforward bow design allows for quick completion, perfect for last-minute gifts or craft fairs.
Finished Size
The estimated finished size of each bow clip is approximately 3 inches wide and 1 inch tall, but this may vary depending on your yarn, hook size, and tension.
Skill Level
This pattern is labeled as beginner because it uses basic crochet stitches and simple assembly techniques.
Materials Needed
- Cream worsted-weight cotton yarn
- 2.5mm crochet hook
- 2 metal shoe-clip findings
- Fabric stiffening spray
- Tapestry needle
- Small amount of yarn for center wrap
- Scissors
Stitches and Abbreviations
- sc: single crochet
- ch: chain
Gauge and Tension Notes
Gauge is not crucial for this project, but maintaining consistent tension will ensure a neat finish. Aim for a tight tension to give the bows a well-structured look.
Pattern Notes Before You Start
This project consists of two separate bow strips worked in rows and later assembled into clips. Each bow strip will be folded and shaped to create the bow look. There are no color changes, but using different yarn colors can add a personal touch.
Step-by-Step Crochet Instructions
- Bow Strip (make 2): Start with a chain of 16.
- Row 1: In the second chain from the hook, work 15 single crochets across.
- Rows 2–4: Chain 1, turn, and single crochet across (15 sc each row).
- Fasten off, leaving a long tail for assembly.
- Shaping: Fold each strip in half lengthwise, pinching the center, and wrap tightly with the tail 4 to 5 times to form the bow shape. Knot off and weave in the ends.
- Lightly spray with fabric stiffening spray and let dry completely to hold the shape.
- Assembly: Use a tapestry needle and matching yarn to sew the back of each bow securely to a shoe-clip finding, centering the bow over the clip’s front bar.
- Repeat for the second bow and attach clips over shoe straps.
Assembly and Finishing
Once both bows are shaped and secure on the clips, ensure all ends are woven in neatly. This attention to detail will help keep the bows looking sharp. The light stiffening will maintain the shape, providing a polished finish.
Helpful Tips
- When pinching the center of the bow, ensure it’s held tightly for a neat appearance.
- Use a smaller hook than you might typically choose with cotton yarn for a firmer bow.
- Stiffen lightly, as too much spray can make the bows excessively rigid.
- Experiment with different yarns or textures for unique looks.
Common Mistakes to Avoid
- Inconsistent tension: Aim for uniform tension in your stitches for a cleaner finish.
- Not securing the bow: Make sure to cinch and knot tightly when shaping the bow to avoid it loosening.
- Ignoring the drying time: Rushing the drying process can result in bows that lose shape.
Customization Ideas
- Switch up the yarn color for seasonal themes or personal preferences.
- Add embellishments like buttons or beads in the center wrap for a bit of flair.
- Consider using a thicker yarn for a chunkier bow look.
- Adjust the bow size by altering the initial chain length.
How to Use or Display This Crochet Project
These Mini Bow Shoe Clips can be used to enhance nearly any shoe pair, turning everyday footwear into a stylish statement. They also make adorable gifts for friends or family members, especially when paired with a simple pair of shoes.
Care Instructions
To clean, spot wash with a damp cloth. Avoid machine washing to preserve the shape and integrity of the bow. Store in a cool, dry place away from direct sunlight to prevent fading.
Frequently Asked Questions
Q: Can I use different yarn types?
A: Yes! Just be aware that different weights may affect the overall size and shape of the bows.
Q: How do I keep the bows from fraying?
A: Ensure to weave in all ends thoroughly and consider using a fabric sealant on any cut edges for extra protection.
Q: What if I struggle with shaping the bow?
A: Practice on a scrap piece first; it can help you get the hang of the technique before creating your final piece.
Q: Can I make larger bows?
A: Absolutely, just adjust the chain length accordingly and change your materials if necessary.
Final Thoughts
Creating your Mini Bow Shoe Clip Pair is a wonderfully satisfying project that can brighten up any pair of shoes. With clear steps and a chance to express your creativity, these clips are sure to become favorite accessories. For more styles and ideas, feel free to explore more crochet patterns or reach out for help through our contact page. Enjoy your crafting!



