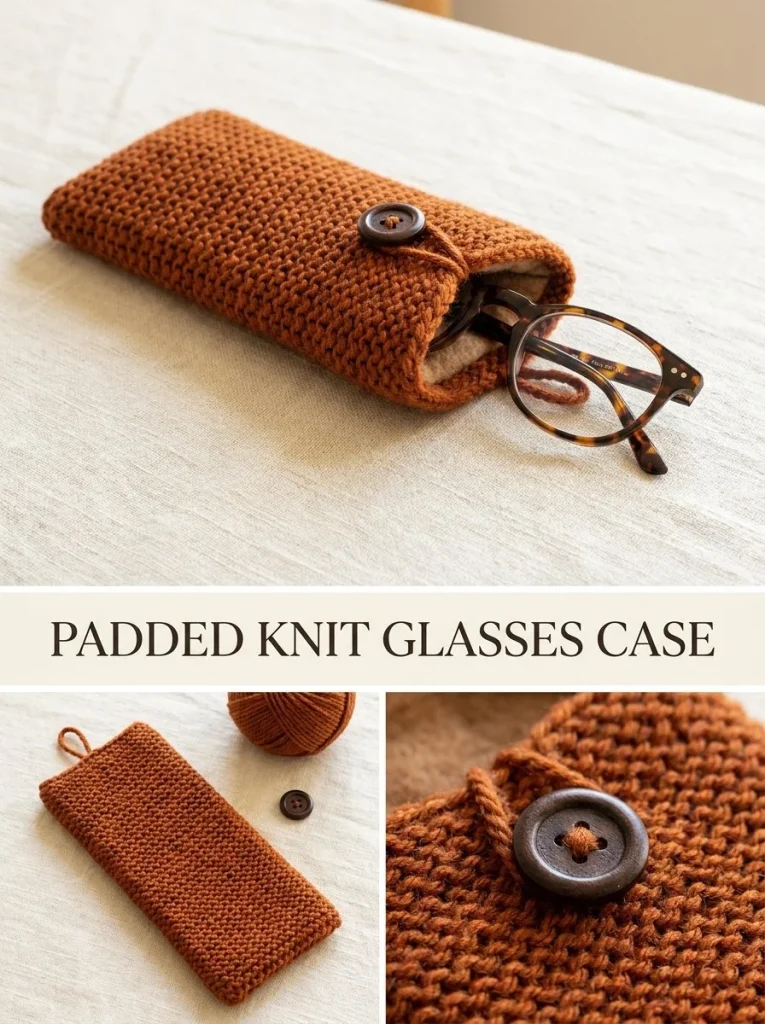
Creating a padded glasses case not only serves a practical purpose but also provides an enjoyable knitting experience. This Rust Padded Glasses Case project is both functional and stylish, ideal for anyone who loves to keep their eyewear safe and close at hand. With its warm rust color, the case adds a cozy touch to your daily essentials. The innovative slip-stitch technique creates a padded effect, ensuring your glasses are cushioned against bumps and falls. Whether you’re looking for a simple knitting project or something personalized to gift, this case checks all the boxes.
Pattern at a Glance
- Skill level: Intermediate
- Terminology: US knitting terms
- Construction: Knit in flat rows, folded, and seamed
- Finished size: about 3.5 in / 9 cm wide x 7 in / 18 cm high
- Yarn weight: DK-weight
- Needles: US 6 (4.0 mm) knitting needles
- Main stitch: Slip-stitch texture
- Gauge: about 22 sts and 30 rows = 4 in / 10 cm in slip-stitch texture
- Layout: Rectangular piece folded and seamed
- Seaming: Back stitch or whip stitch along edges
Materials
To create the Rust Padded Glasses Case, you will need the following materials:
- Yarn: DK-weight wool or wool-blend yarn in warm rust
- Needles: US 6 (4.0 mm) knitting needles
- Notions:
- Tapestry needle (for weaving in the ends)
- Scissors
- One 1/2 in / 13 mm button (for closure)
These materials are essential for building your case and contribute to its padded texture.
Yarn and Color Notes
Choosing the right yarn is crucial for this project. DK-weight wool or a wool-blend yarn adds warmth and a soft feel. Wool fibers are naturally elastic and durable, making them an excellent choice for a case that may see daily use. A warm rust color not only looks chic but is also neutral enough to pair with various accessories. Avoid very fuzzy yarns, as they may impede your ability to create clean edges and seams.
Finished Measurements
The finished dimensions of your glasses case will be approximately 3.5 in / 9 cm wide x 7 in / 18 cm high. Achieving these measurements accurately depends on following the gauge stated below. Proper measurement ensures that your glasses fit snugly inside without being overly restrictive.
Gauge
Getting the gauge right is essential for the fit of your glasses case. The gauge for this project is about 22 sts and 30 rows = 4 in / 10 cm in slip-stitch texture. To check your gauge:
- Knit a swatch of at least 4 inches square using the same stitch pattern.
- Measure your swatch with a ruler to see how your stitches compare. If you’re getting too many stitches in that area, switch to larger needles; if too few, switch to smaller needles.
- Gauge matters because if your gauge is off, it can affect the finished size of your case.
Abbreviations
For clarity, here are the abbreviations used in this pattern:
- CO: Cast On
- K: Knit
- P: Purl
- BO: Bind Off
- sts: Stitches
- cm: Centimeters
- in: Inches
Important Pattern Notes
- Pay attention to whether your chains count as stitches in the pattern.
- Ensure you identify the right side and wrong side of your work for neat finishing.
- Use a stitch marker if necessary to help keep track of your rows.
Special Stitches and Techniques
This project primarily incorporates the slip-stitch technique, creating a unique texture that adds padding to the case. The alternating slipped stitches will give your case a lovely cushioned feel while being functional.
Understanding the Construction
This glasses case is worked as a flat piece that you will later fold in half and seam together. You will primarily work in rows, using a combination of knit and slip stitches. The construction is straightforward; focus on achieving your gauge and keeping your stitch counts accurate for the best results.
Complete Pattern Instructions
Foundation
Cast On: Begin by casting on 38 sts.
Row Instructions
Row 1: K all.
Row 2: *K1, slip 1 purlwise with yarn in front; repeat from * across.
Row 3: K all.
Row 4: *Slip 1 purlwise with yarn in front, K1; repeat from * across.
Repeat Steps
Repeat Rows 1-4 until the piece measures about 7 in / 18 cm, which is approximately 52 rows. Then, BO loosely. The alternating slipped stitches create a slightly padded fabric.
Assembly
- Fold the rectangle in half vertically so it measures about 3.5 x 7 in / 9 x 18 cm.
- Seam the bottom and long side neatly using a whip stitch or back stitch.
- Leave the top open.
Button Loop
- At the center back top edge, attach yarn and make a small 2 in / 5 cm twisted loop or a 3-stitch I-cord loop.
- Sew a 1/2 in / 13 mm button on the front opposite the loop.
- Make sure the loop closes gently without crushing your glasses.
Finishing
- Weave in all ends and steam very lightly to shape.
- If desired, add a thin fabric lining to reinforce the case, but it’s not necessary since the slip-stitch fabric is denser than plain stockinette.
Checkpoint
At this stage, your case should measure around 3.5 x 7 in / 9 x 18 cm, with the button and loop functioning properly without crushing your glasses.
If you feel inspired, consider trying other pouch designs such as this mini owl glasses case charm or even a different style like the cow spot crochet glasses case.
Final Thoughts
This simple but effective Rust Padded Glasses Case project showcases how a few stitches and the right materials can produce beautiful, practical items. The technique’s slip-stitch texture provides both style and functionality, ensuring your glasses are kept safe and trendy. Whether for personal use or as a gift, this project is sure to delight knitters and non-knitters alike!



