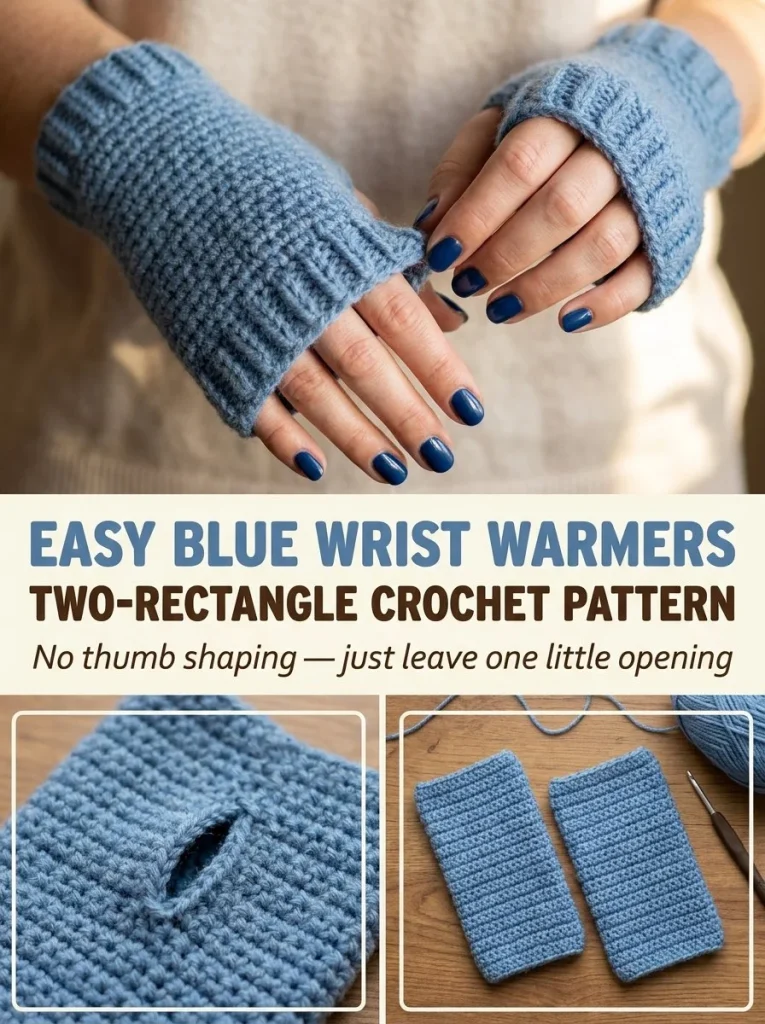
Crocheting fingerless wrist warmers is a delightful project that can be completed in just a matter of hours, making it perfect for both beginners and more experienced crocheters looking for a quick, satisfying finish. These Easy Blue Fingerless Wrist Warmers not only keep your wrists cozy but are an ideal way to enhance your wardrobe with a touch of homemade flair. For those looking for additional inspiration, consider exploring an adorable blue bow bag charm to complement these warmers.
Skill Level
Beginner
This project is perfect for beginners as it primarily uses simple single crochet stitches and basic construction techniques. It provides a great opportunity to practice essential crochet skills while creating a functional accessory.
Materials
- Soft blue worsted yarn
- 4.5mm crochet hook
- Tapestry needle
Abbreviations — US Terms
- ch – chain
- sc – single crochet
- BLO – back loop only
Special Stitches
There are no special stitches used in this pattern. All techniques are basic, making it user-friendly for those new to crochet.
Gauge
Gauge is not crucial for this project, but maintaining consistent tension will ensure your warmers fit comfortably.
Finished Size
These wrist warmers are designed to fit snugly around the wrist, with a comfortable opening for the thumb. The dimensions can be adjusted by changing the foundation chain length.
Pattern Notes
- The project is worked in rows to create long rectangles.
- To determine the appropriate size, wrap the rectangle comfortably around the wrist.
- The warmers are seamed on the side, leaving space for the thumb.
- Be sure to check your work for even tension throughout.
Crochet Instructions
Foundation Chain
To begin, make two rectangles to form each wrist warmer.
- Ch 22 to create your foundation chain.
Row 1
- In the second chain from the hook, make a single crochet (sc).
- Continue to work 1 sc into each chain across.
Total: 21 sc.
Row 2
- Ch 1 and turn your work.
- Work 1 sc in the back loop only (BLO) across the row.
Total: 21 sc.
Rows 3 and Beyond
- Repeat Row 2 until the rectangle is long enough to comfortably wrap around your wrist, usually about 10 to 12 rows.
- You should have a fabric that is soft and stretchy.
Seaming the Warmers
-
Once you have reached the desired length, fold the rectangle with the long edges together.
-
Starting at one wrist edge, seam upward using a whip stitch or slip stitch, leaving approximately 3-4 cm open for the thumb.
-
Continue seaming above the opening until you reach the top edge.
-
Fasten off and weave in any loose ends with your tapestry needle.
-
Repeat these steps to create the second warmer.
For a matching accessory, you might consider crafting a mini blue seashell bag charm to add a personal touch to your look.
Tips for the Best Result
- Ensure you count your stitches regularly to avoid any unintentional increases or skips.
- When seamining, take care to keep both sides aligned for a neat finish.
- If you’re new to seaming, practice on a scrap piece of fabric to get a feel for the stitch.
Common Mistakes
Uneven Seams
If the seams appear uneven, check that you are mindful of the number of stitches you work into the edges and that you are consistent in your tension.
Too Tight Fit
If your wrist warmers feel too tight, consider using a looser tension during your rows or increasing the number of chains at your foundation.
Finishing
- Once both warmers have been assembled, weave in any remaining ends from your yarn.
- If desired, block your crocheted pieces to enhance their shape and size.
Care
Hand wash your wrist warmers in cold water and lay flat to dry, to maintain the shape and quality of the yarn.
In conclusion, these Easy Blue Fingerless Wrist Warmers are an excellent project to practice your crochet skills while creating a useful and trendy item. Enjoy your crocheting journey, and feel free to expand on this basic design to create even more stylish accessories in the future!



